Cleaning Tips
Published On
Top 12 Overlooked Household Items You Should Start Cleaning Now
Written By
Maintaining a clean and hygienic home is a priority for many of us. We diligently scrub our countertops, vacuum our floors, and sanitize our bathrooms. But what about the often overlooked household items that quietly accumulate dust, dirt, and germs? In this blog post, we're highlighting those hidden culprits. We'll explore the top 15 household items that are often forgotten but definitely deserve your cleaning attention.
1. Remote Controls
Remote controls are like the unsung heroes of our leisure time. They guide us through countless TV shows and movie nights. However, they also have a hidden secret – they're germ hotspots. Think about how often your remote control is passed around, touched by multiple hands, and rarely cleaned. Now you get why it harbors even more germs than your toilet seat.
How to Clean Remote Controls:
- Remove batteries: Before cleaning, ensure the remote control is powered off by removing the batteries, or unplugging it if it’s the type with a cradle charger.
- Use a soft, damp cloth: Dampen a microfiber cloth with a mixture of water and a mild detergent, or use a disinfectant wipe. Ensure it's not too wet to prevent liquid from seeping into the remote.
- Gently wipe the surface: Carefully wipe the remote control's exterior, paying attention to buttons and crevices.
- Dry thoroughly: After cleaning, use a dry cloth to wipe away any moisture and ensure it's completely dry before returning the batteries.
2. Light Switches
You probably use your light switches at least three to four times daily. Try recalling the last time you cleaned them. If you’re drawing a blank, you’re not the only one. Light switches are primarily forgotten in cleaning routines. However, they are one of the major touchpoints Clean Tu Casa professionals ensure to sanitize in every home we clean.
Best Practices for Cleaning Light Switches Safely:
- Turn off the power: Before cleaning, turn off the power to the switch at the circuit breaker to avoid any electrical mishaps.
- Use a disinfectant or mild soapy water: Dampen a cloth with a disinfectant or mild soapy water (ensure it's not too wet) and gently wipe the switch plate and surrounding wall area.
- Pay attention to details: Be cautious around electrical components, and avoid getting moisture into the switch.
- Dry thoroughly: After cleaning, use a dry cloth to wipe away any moisture, and wait for the switch plate to dry before turning the power back on.
3. Doorknobs and Handles
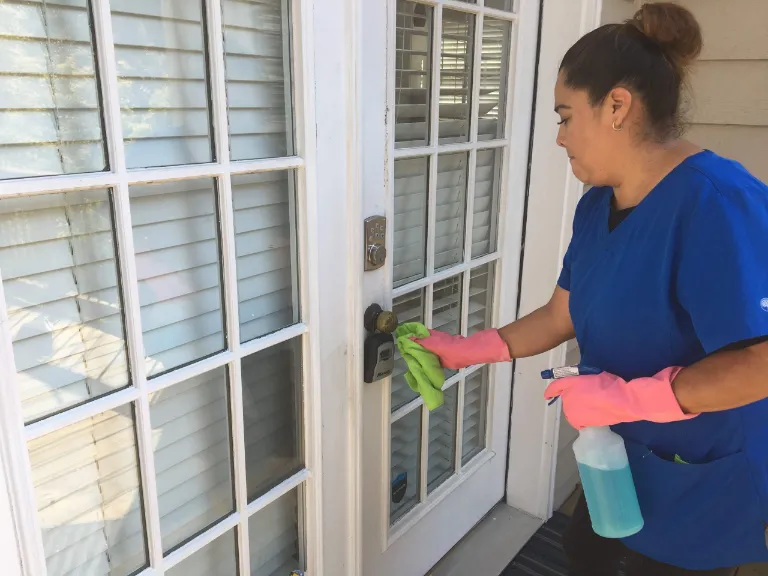
Doorknobs and handles are also prime spots for the accumulation of germs, given how frequently they are touched. Here's how to effectively disinfect these high-touch areas:
- Gather your supplies: You'll need disinfectant wipes or a solution of water and a disinfectant cleaner.
- Wipe down the surfaces: Carefully wipe the doorknobs and handles, paying attention to all sides. Don't forget to disinfect the frame.
- Allow to air dry: Let the disinfectant air dry on the surfaces for maximum effectiveness.
4. Television
Televisions are the focal point of most living rooms, providing entertainment and relaxation. However, they also tend to be dust magnets, accumulating layers of fine particles over time. Here's how to safely clean your television screen:
Safe Methods for Cleaning Television Set:
- Turn Off and Unplug the TV: Ensure the TV is powered off and unplugged for safety.
- Remove Dust and Debris: Use a dry microfiber cloth to gently remove dust and debris from the TV, including the screen, frame, vents, and speaker grilles. Opt for a soft, lint-free microfiber cloth to avoid scratching the screen.
- Dampen the Cloth: Dampen a portion of the cloth with water and wipe the TV. Ensure to wipe the screen in gentle, circular motions. Avoid using excessive moisture.
- Clean the Exterior: Gently wipe down the TV's exterior with the dampened cloth, including the frame and bezels. Pay attention to smudges or sticky spots.
- Dry Thoroughly: Use a dry part of the cloth to remove any remaining moisture. Ensure the TV is completely dry before plugging it back in.
5. Inside of Dishwasher
While dishwashers are designed to clean our dishes, they also require regular cleaning to maintain proper hygiene. Neglecting your dishwasher cleaning typically leads to a dirty filter, less clean dishes, possibly a clogged dishwasher, and, in extreme cases, damage to your machine and drainage. Here's how you can avoid all that:
- Empty the dishwasher: Start by removing all dishes and utensils from the dishwasher.
- Remove and clean filters: Check your dishwasher's user manual for guidance on removing and cleaning filters.
- Wipe down surfaces: Use a cloth or sponge to wipe down the interior, including the door, racks, and walls.
- Use vinegar: Place a cup of white vinegar on the top rack and run an empty dishwasher on a hot cycle to remove built-up residue and odors.
- Regular maintenance: Consider performing this cleaning routine monthly to keep your dishwasher in top condition.
6. Silverware Tray
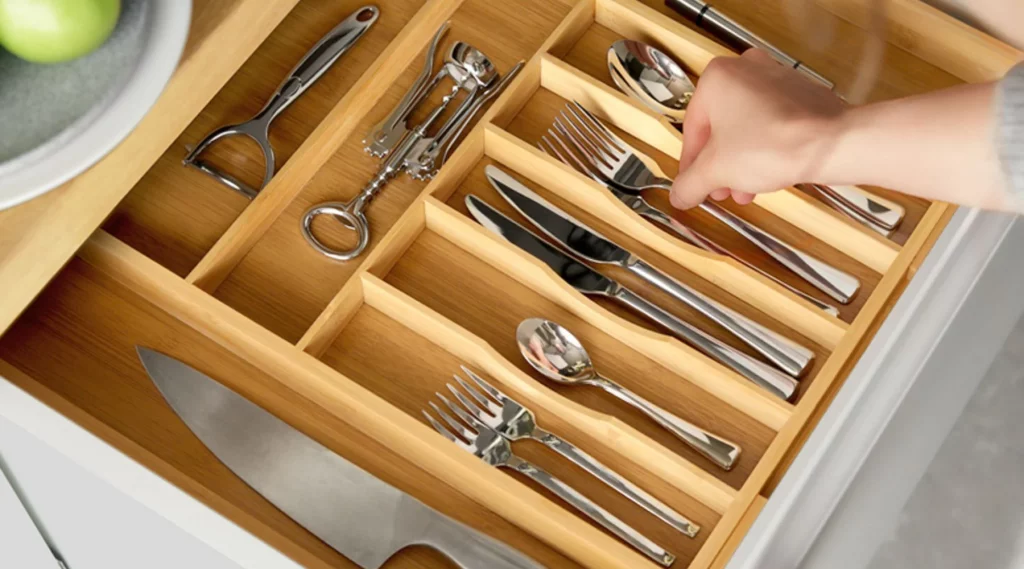
Silverware trays are essential for keeping our cutlery organized, but they can also be hiding spots for dirt and food debris. Unfortunately, we don’t remember to keep the tray as clean as its contents, so you find clean utensils in a dirty tray is almost a norm.
Cleaning Tips for Silverware Trays:
- Empty the tray: Remove all utensils and silverware from the tray.
- Hand wash or dishwasher: Depending on the material, you can either hand wash the tray with warm, soapy water or place it in the dishwasher.
- Scrub and rinse: Use a brush or sponge to remove any stuck-on food particles.
- Dry thoroughly: Ensure the tray is completely dry before returning your clean silverware.
7. Drying Rack
Drying racks are vital in keeping your dishes dry, but they often accumulate mold and grime if not cleaned regularly. Good thing we know what to do to prevent that.
Cleaning Guidelines for Drying Racks:
- Empty the rack: Remove all dishes and utensils from the drying rack.
- Disassemble (if possible): If your drying rack has removable parts, disassemble them for thorough cleaning.
- Hand wash or dishwasher: You can hand wash your drying rack or place it in a dishwasher, depending on the material.
- Scrub and rinse: Use a brush or sponge to scrub away any mold or residue, paying attention to crevices.
- Allow to air dry: Let the rack air dry completely before reassembling and using it again.
8. Inside of Drawers
Drawers often serve as storage spaces for various items, but they can accumulate dust and clutter over time. Yes, everyone has a “junk drawer,” but if care is not taken, every drawer could easily turn into the “junk drawer” because you forgot to clean them out. Here's how to effectively clean and organize the inside of your drawers:
- Empty the drawer: Remove all items from the drawer and place them aside.
- Dust and vacuum: Use a cloth or a vacuum cleaner attachment to remove dust and debris from the drawer's interior.
- Wipe down surfaces: Wipe down the interior with a damp cloth or a mild cleaning solution.
- Sort and organize: As you put items back, take the opportunity to declutter and organize the contents for a neater, more organized drawer.
9. Keys
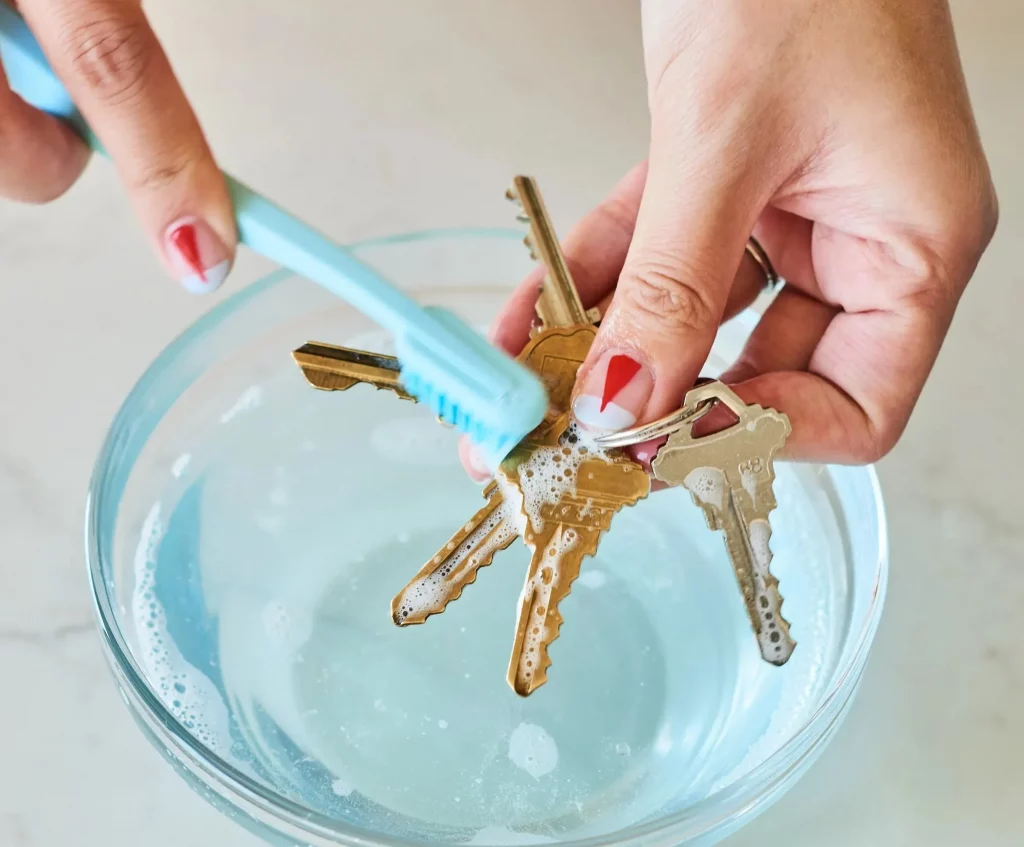
Keys are among our everyday essentials, and they frequently change hands. It's necessary to clean and disinfect them regularly to maintain hygiene.
Tips on Safely Cleaning and Disinfecting Keys:
- Remove keyrings: Take keys off their keyrings for easier cleaning.
- Soak and scrub: Soak the keys in warm, soapy water for a few minutes. Then, gently scrub them with a soft brush to remove dirt and grime.
- Rinse and dry: Rinse the keys thoroughly with clean water and let them air dry completely.
- Disinfect: After drying, use disinfectant wipes to kill germs and bacteria on the keys.
10. Showerheads
Showerheads can harbor hidden mold and mineral buildup that affect water flow and quality. You need to descale and clean them out from time to time. Here’s how to do it:
- Remove the showerhead: If possible, remove the showerhead for a thorough cleaning.
- Soak in vinegar: Soak the showerhead with white vinegar and water to dissolve mineral deposits.
- Scrub and rinse: Thoroughly scrub the showerhead's nozzles using a brush or toothbrush.
- Reassemble: Reattach the showerhead and run water through it to ensure it is rid of mineral deposits and properly functioning.
11. Toothbrush Holders
Toothbrush holders can become breeding grounds for bacteria if they are not cleaned regularly. Considering that these items hold something that will evetually get into your mouth, you should really take your time to keep them clean. Here's how:
- Empty and disassemble: Remove all toothbrushes and disassemble the holder if possible.
- Hand wash: Wash the holder with warm, soapy water, using a bottle brush or old toothbrush to reach crevices.
- Rinse and dry: Rinse the holder thoroughly with clean water and allow it to air dry completely before reassembling.
- Regular cleaning: Aim to clean toothbrush holders at least once a week to prevent bacterial buildup.
12. Dryer Lint Trap
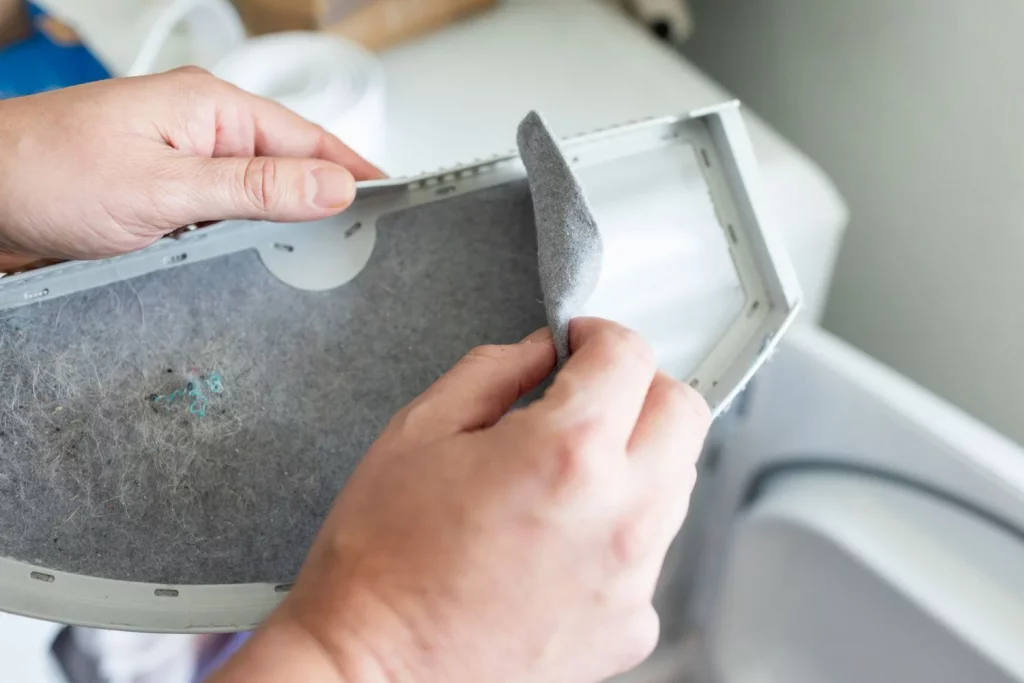
You probably don’t know this but approximately 3,000 fires caused by buildup of dryer lint in vents happen anually in the country, causing over $35 milion in damages. Cleaning the dryer lint trap frequently is crucial to prevent fire hazards and maintain your dryer’s efficiency. Below are step-by-step instructions for cleaning the it:
- Unplug the dryer: Before cleaning, ensure the dryer is unplugged or disconnected from the power source.
- Locate the lint trap: Find the lint trap and remove it. It is usually located inside the dryer door or on top of the dryer.
- Remove lint: Use your hand or a lint brush to remove all the lint and debris from the trap and the surrounding area.
- Vacuum or wipe: Vacuum the lint trap area and wipe it down with a damp cloth to remove any remaining residue.
- Reassemble and plug in: Put the lint trap back in place, plug in the dryer, and you're ready to use it safely.
- Regular maintenance: Make it a habit to clean the lint trap after every dryer cycle to reduce fire risks.
In Summary...
In conclusion, we've explored a range of often overlooked cleaning tasks that are crucial for maintaining a healthy and clean home. From cleaning your remote controls to tackling the dust on your television screen, these tasks are vital in creating a hygienic and pleasant living environment.
By addressing these often overlooked areas, you reduce allergens and germs and enhance the overall cleanliness and aesthetics of your living space. A cleaner home isn't just about appearances; it's about creating a space that promotes well-being and peace of mind.
So, roll up your sleeves, grab that microfiber cloth, and take the first step towards a healthier and cleaner home today.
Clean Tu Casa is the team to call for any cleaning service in Atlanta. We offer Atlanta residential cleaning services and corporate cleaning services. We provide commercial cleaning services in Marietta, Buckhead, and Brookhaven areas. Whether you want a one-time, weekly, bi-weekly, or monthly cleaning, simply reach out to us for your free quote today.
